DIY Epoxy Flooring: Suggestions and Techniques for a Flawless Result
If you're looking to transform your space with a durable plus visually appealing finish, epoxy surfacing may be the ideal solution. Whether you are thinking about epoxy flooring for garages for a polished professional finish alternatively epoxy for basement floors to enhance the ambience of your lower-level sanctuary, do-it-yourself epoxy flooring provide a remarkable mix of style and utility. Not only do they provide a gleaming finish, but they additionally withstand high traffic, spills, and normal usage, allowing them ideal across various applications.
Many homeowners are now opting for epoxy flooring due to its versatility as well as easy upkeep. With the right approach, one can achieve a perfect finish that rivals commercial installations. In this article, we will share key tips and advice to help you navigate the process, ensuring that your epoxy flooring efforts goes smoothly from the beginning to finish. If you're a skilled do-it-yourselfer or if you're a newbie home upgrader, these valuable insights will direct you to create beautiful epoxy floors which elevate your area.
Selecting the Best Epoxy
As you choose epoxy flooring, the initial step is to comprehend the various kinds accessible on the market. There are primarily two classifications: 100 percent pure epoxy and waterborne epoxy. Solid epoxy is well-known for its durability and strength, making it an excellent selection for high-traffic areas such as garages. Alternatively, waterborne epoxy is simpler to use and has reduced levels of VOCs, but it may not offer the same level of strength as its solid counterpart.
Consider the specific needs of your area when choosing your epoxy. For instance, if you are looking to cover a vehicle storage area floor, you will need a formulation that can endure intense wear and tear, heat, and potentially spills from autos. Conversely, if your project involves basement epoxy flooring, water resistance becomes paramount. Look for products uniquely designed for these environments to ensure durable results.
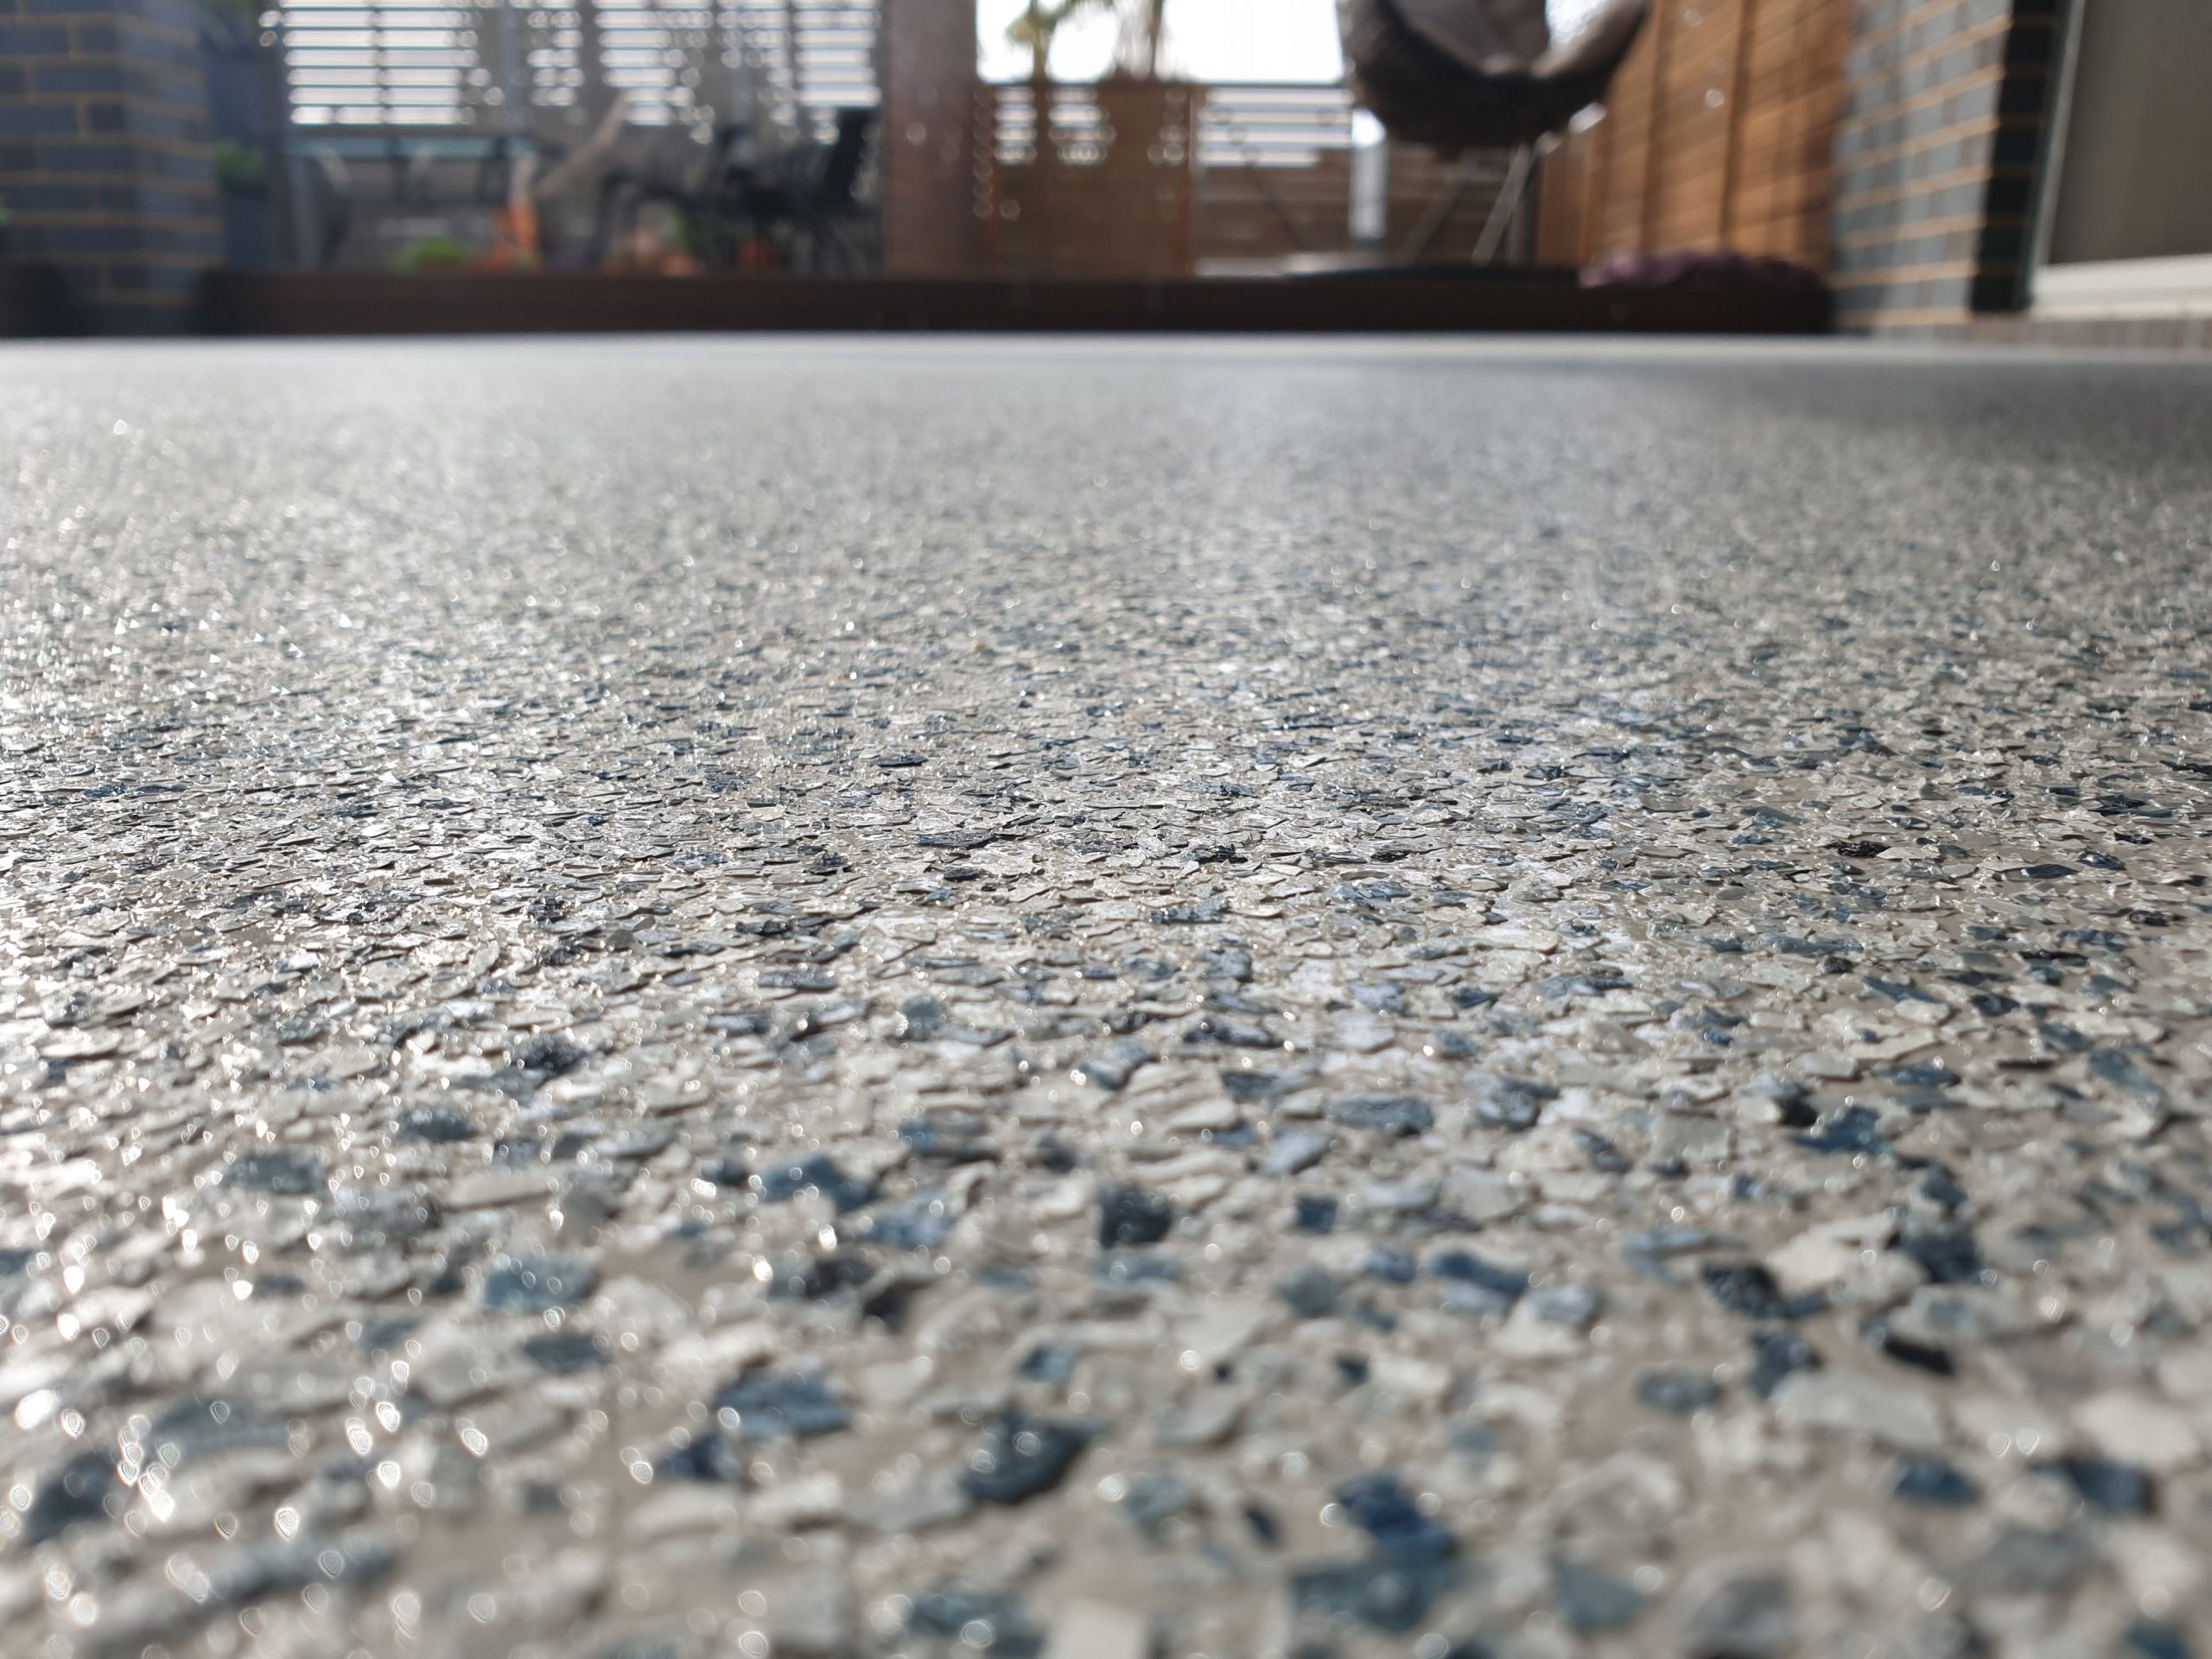
Another vital factor to think about is the visual appeal of the epoxy. Epoxy flooring comes in various shades and textures, allowing you to customize the look of your environment. You could select a glossy finish for a modern appearance or choose a ornamental flake system to introduce texture and richness. Evaluate your aesthetic preferences in conjunction with the functional demands to find an epoxy that meets both your visual and practical needs.
Surface Preparation
Proper surface preparation is essential for attaining a flawless epoxy floor result. Before applying any epoxy, the surface must be cleansed, dried, and devoid of any contaminants like oil, greasy residues, or debris. Begin by carefully washing the region with a solvent and a stiff brush. For garage space floor epoxy, it’s especially important important to remove all marks and residues, as these can impact the bond and lead to peeling or blistering.
Next, take into account the surface profile of the substrate. If you are placing epoxy over a smooth concrete floor, it may be essential to abrade the surface to create a stronger bond. This can be done with a sander or abrasive. For basement epoxy flooring, make sure that there are no fissures or gaps; any imperfections should be patched with a repair product and permitted to harden completely before proceeding.
Lastly, allow the area to dry completely after cleaning and abrading. Moisture can hinder the epoxy from adhering effectively, leading to an uneven finish. It is recommended to conduct a moisture test, particularly in basements, to ensure that the surface is properly prepared for the epoxy application. Following these guidelines will help guarantee a long-lasting and attractive epoxy floor.
Application Techniques
While installing epoxy flooring, being prepared is crucial. Begin by ensuring that the floor is clean, dry, and without any impurities. This could require sweeping, cleaning with a vacuum, and potentially applying a degreaser for garage spaces or basement areas where spills may have taken place. After cleaning, inspect the surface for cracks or blemishes that require repairs before the epoxy can be placed. A smooth, even surface allows for improved adhesion and a more pleasing finish.
Next, consider the application method you will use. Paint rollers and scrapers are popular tools for applying epoxy, with rollers providing a smooth finish and squeegees helping to cover larger areas efficiently. If you are working in small spaces, a brush can help you access corners and edges well. It is wise to work in sections and keep a moist edge to avoid visible seams, ensuring a even appearance across the entire surface. Always adhere to the manufacturer’s guidelines for mixing and applying the epoxy.
Finally, either for epoxy garage floors or epoxy basement floors, timing is crucial. Determine the ideal temperature and humidity levels for application to avoid issues such as blistering or improper curing. After applying the epoxy, give it ample time to cure fully before walking on it or replacing furniture in the space. Patience during this process will lead to a sleek and long-lasting finish that improves the overall appearance of your flooring.
Hardening and Finishing
Curing is a important step in the process of applying epoxy floor coatings. It refers to the chemical process that happens as the epoxy hardens and strengthens. Generally, the hardening time can differ based on the type used, surrounding factors, and the thickness of the layer. It's essential to adhere to the producer's instructions regarding curing times to ensure a proper finish. Be mindful of heat and humidity, as these elements can affect the curing process significantly.
Once the material has hardened to its ideal firmness, it's time for the final steps. Examine the area for any imperfections or bubbles that may have formed during the application. Lightly grinding the surface with fine-grit sandpaper can help smooth out any flaws. After grinding, wash the surface thoroughly to clear away dust and particles before applying a top coat, if desired. This process can enhance durability and provide a shiny finish.
Finally, after sanding and cleaning, it’s time to apply a top coat or finish if you want to elevate the appearance of your epoxy flooring. A clear epoxy top coat can provide an extra layer of protection against wear and tear, making it perfect for high-traffic areas such as epoxy in garages and basements. Ensure that the prior coat has fully cured before adding additional finishes, as this will stop the formation of blemishes and maintain the quality of your freshly applied epoxy surface.
Maintenance Tips
To ensure your epoxy flooring stays in pristine condition, regular cleaning is crucial. A straightforward routine of sweeping or vacuuming the floor to remove dust and debris will help maintain its shine. For stubborn stains or spills, use a damp mop with a mild pH-balanced cleaner. Steer clear of using strong chemicals or abrasive scrubbers, as these can harm the epoxy finish.
Examine your garage floor epoxy frequently for indications of wear or damage, especially in high-traffic areas. If you notice any scratches or chips, addressing these promptly can prevent further damage. Consider applying a new topcoat every few years to keep the surface looking fresh and vibrant, especially in a garage or basement environment where wear and tear may be more pronounced.
Shielding your epoxy floors from heavy impacts and sharp objects will also contribute to their longevity. Consider placing https://epoxyfloorsomaha.com in areas where bulky items are routinely moved, and be careful when using tools or equipment. By taking these simple precautions, you can enjoy the beauty and durability of your basement epoxy flooring for an extended period to come.